 Best
Best Curtain Rods
A rod fails when it is too thin for the panel, too short for the span, or held by too few brackets. This guide matches rod type, diameter, and support to the curtain job first, then to the look.
The best curtain rod is the one that holds your panels straight, lets them slide without a fight, and fits the window it serves. A slim rod suits a sheer panel, a thick rod suits a lined velvet panel, and a rod that curves back to the wall suits a blackout panel. Finish and finials come last, because a good-looking rod that sags or sticks will annoy you every day.
This guide sorts rods by job first: light sheers, heavy lined panels, wide doors, two layers, rented walls, and blackout rooms. It gives a diameter and weight checklist, explains bracket spacing and center support, and matches each rod to the curtain heading it must carry. Use How to Measure for Curtains for the width steps and How to Hang Curtains for the fitting steps; this guide covers rod choice only.
Six rods by job: the shortlist
The six rods are a slim rod for light sheers, a thick rod for heavy lined and velvet panels, a long spliced rod for wide doors and wide windows, a double rod for a sheer plus a heavier panel, a no-drill rod for rented walls, and a wrap rod for blackout panels. The shortlist below groups the rods by job, and each pick links to a verified listing with a Check Price button, so check the listing for diameter, bracket count, and weight guidance before you order.
As an Amazon Associate, we earn from qualifying purchases.
| Pick | Type | Best for | Diameter guide | Support note |
|---|---|---|---|---|
| 1 | Slim steel single rod | Light sheers | Around 5/8 inch | End brackets on a short span |
| 2 | Thick wood-look metal rod with center support | Heavy lined and velvet panels | Around 1 inch (Premium option) | Center support on a wide span |
| 3 | Long spliced metal rod with extra brackets | Wide doors and wide windows | Around 1 inch | Extra brackets, no long unsupported run |
| 4 | Double rod set | Sheer layer plus heavier panel | Front bar thicker than the back bar | Brackets that hold both bars clear of the wall |
| 5 | No-drill tension or adhesive-bracket rod | Renter walls, light panels only | Slim, to suit the light load | No screws; check the surface and the listing |
| 6 | Wrap rod that curves back to the wall for blackout panels | Blackout panels | Around 1 inch for lined blackout panels | End returns close the side gap |
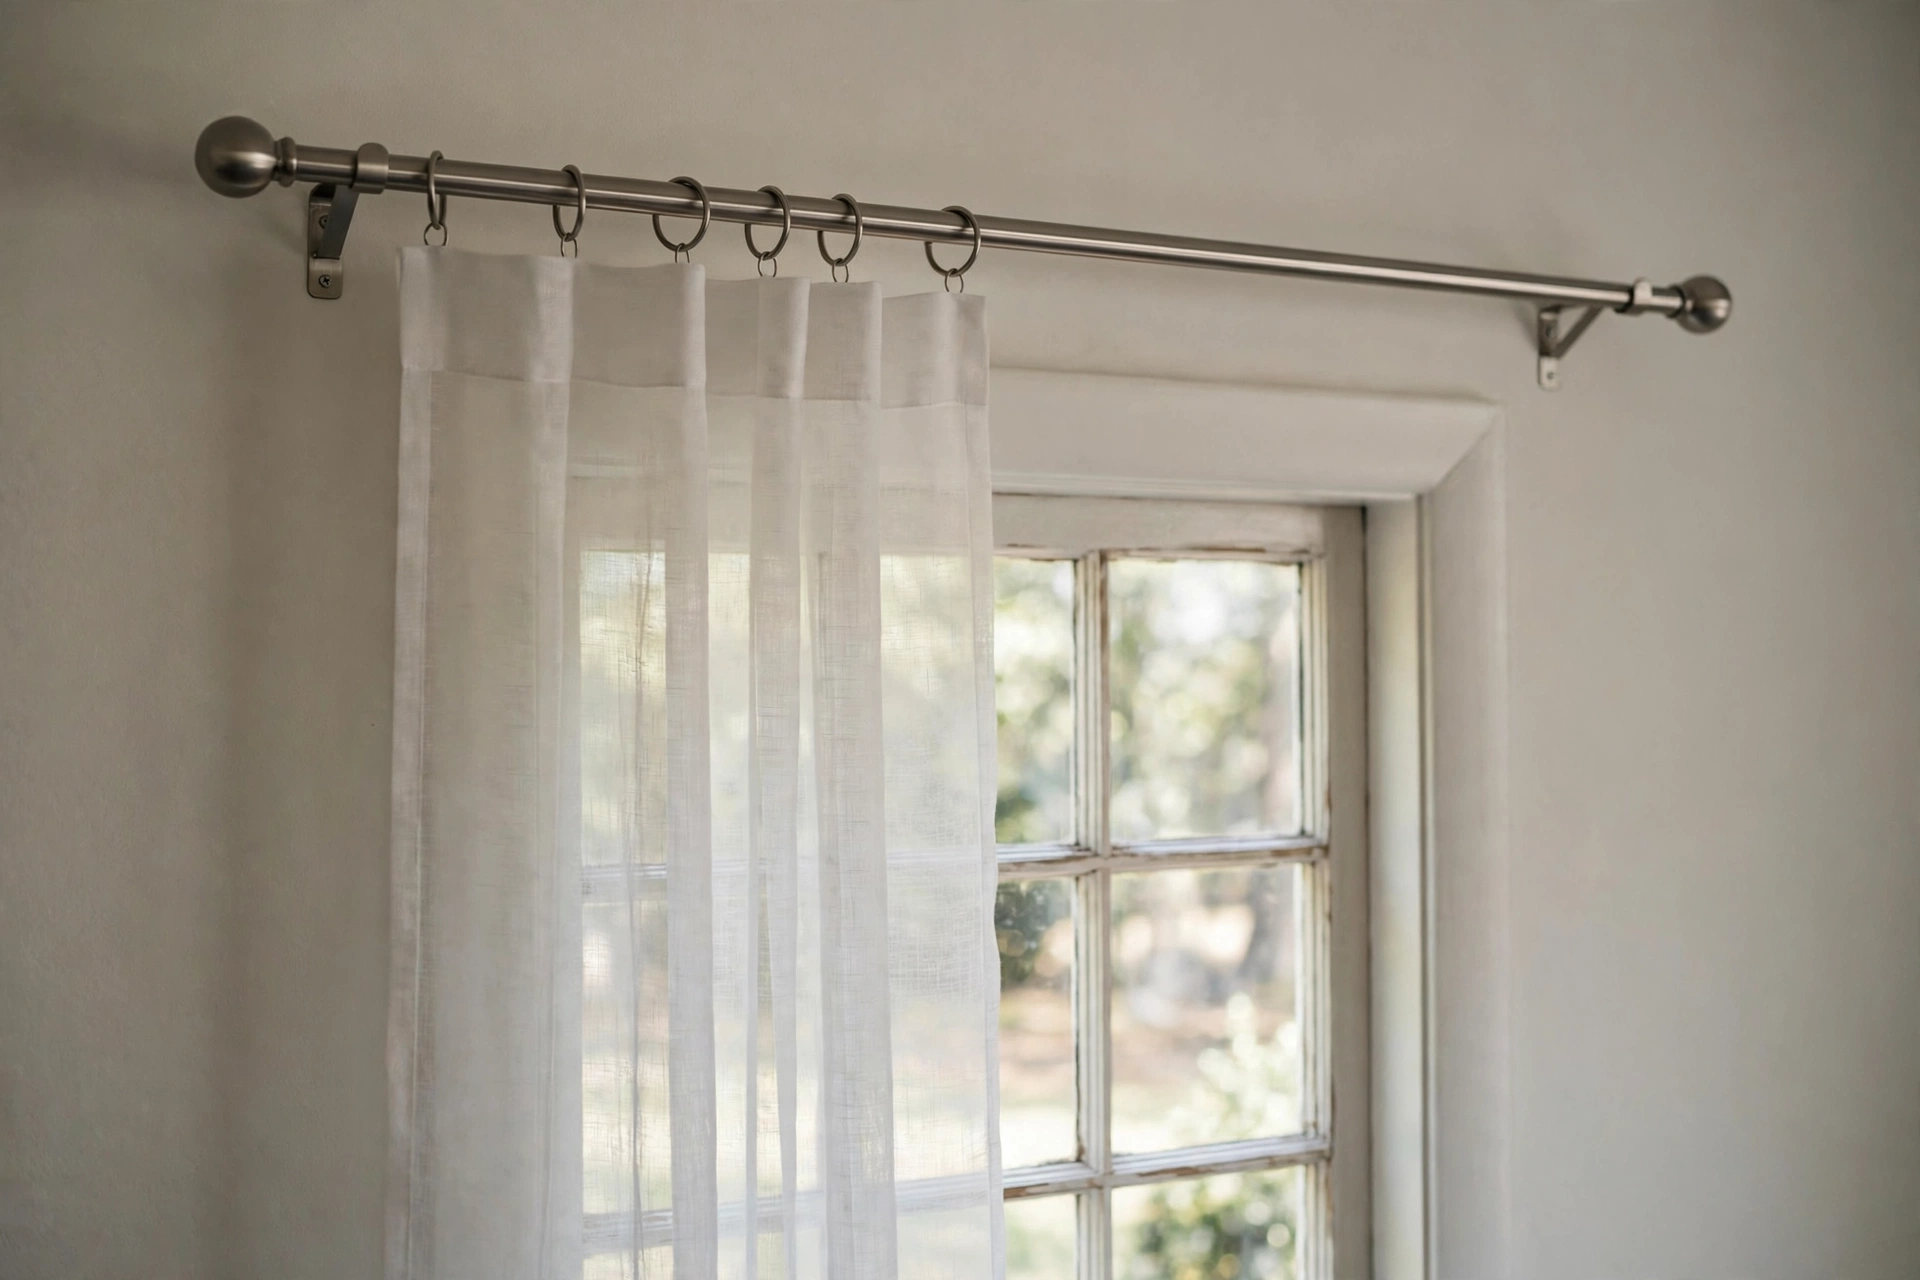
Slim steel single rod for light sheers
- Best for: A sheer or voile panel on a small or standard window, where light filtering is the job.
- Key features: Slim steel bar; simple finials; end brackets.
- Pros: Light look that suits a sheer panel; easy to fit; panels slide freely on a short span.
- Cons: Too thin for lined or velvet panels; can bow on a wide span; can look lost on a large window.
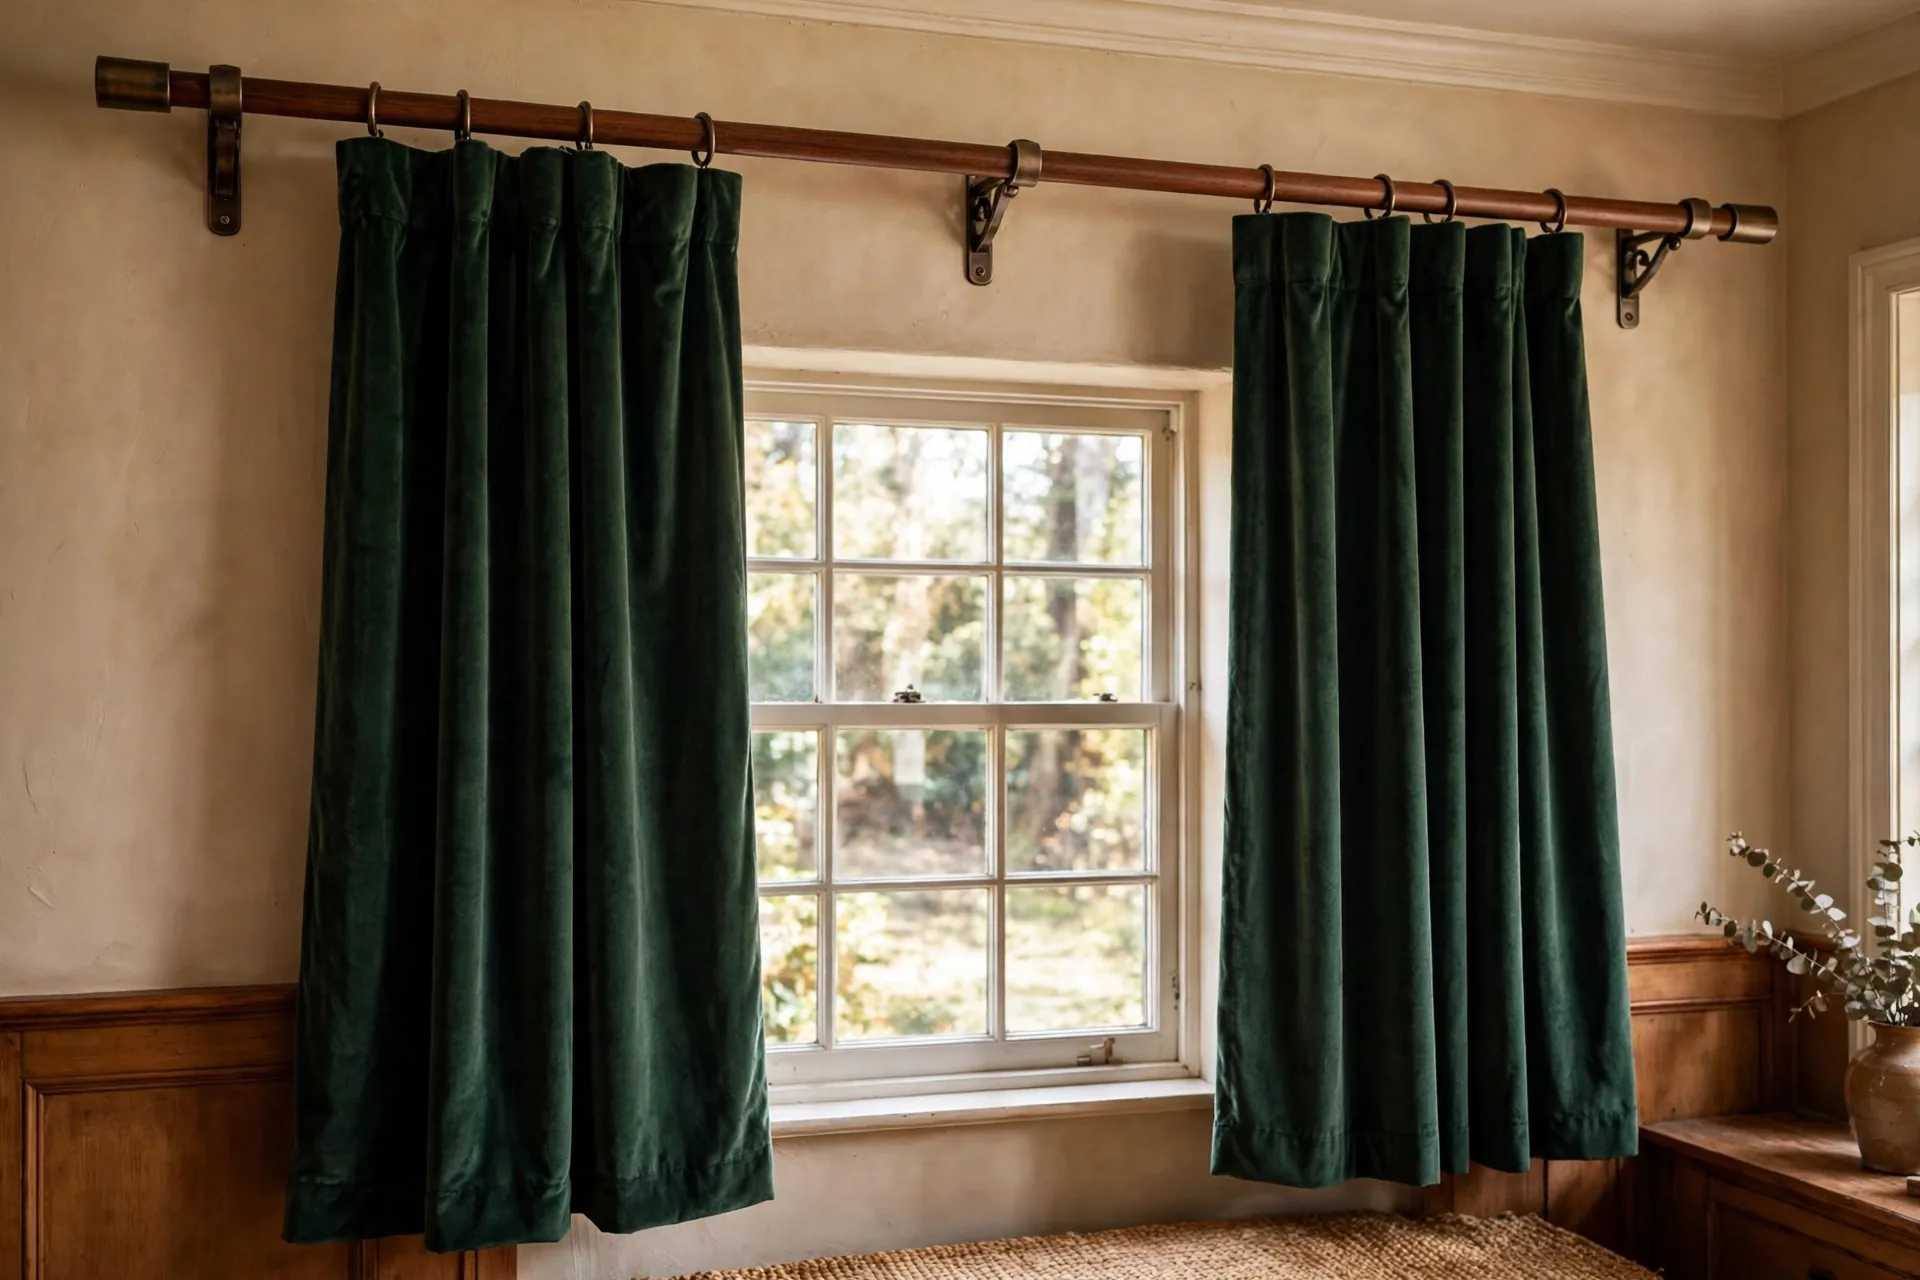
Thick wood-look metal rod with center support for heavy lined and velvet panels
- Best for: A lined, velvet, or blackout panel where weight is the main problem.
- Key features: Thick steel bar in a cocoa wood-tone finish; Premium 1 inch diameter; center support bracket included; rings sized to the rod diameter.
- Pros: Holds heavy panels with less bend; wood-tone finish suits warm, traditional rooms; center support stops mid-span dip.
- Cons: Heavier to fit; rings cannot pass a standard center bracket; check the listing for weight guidance.
Select the Premium 1 inch option on the page.
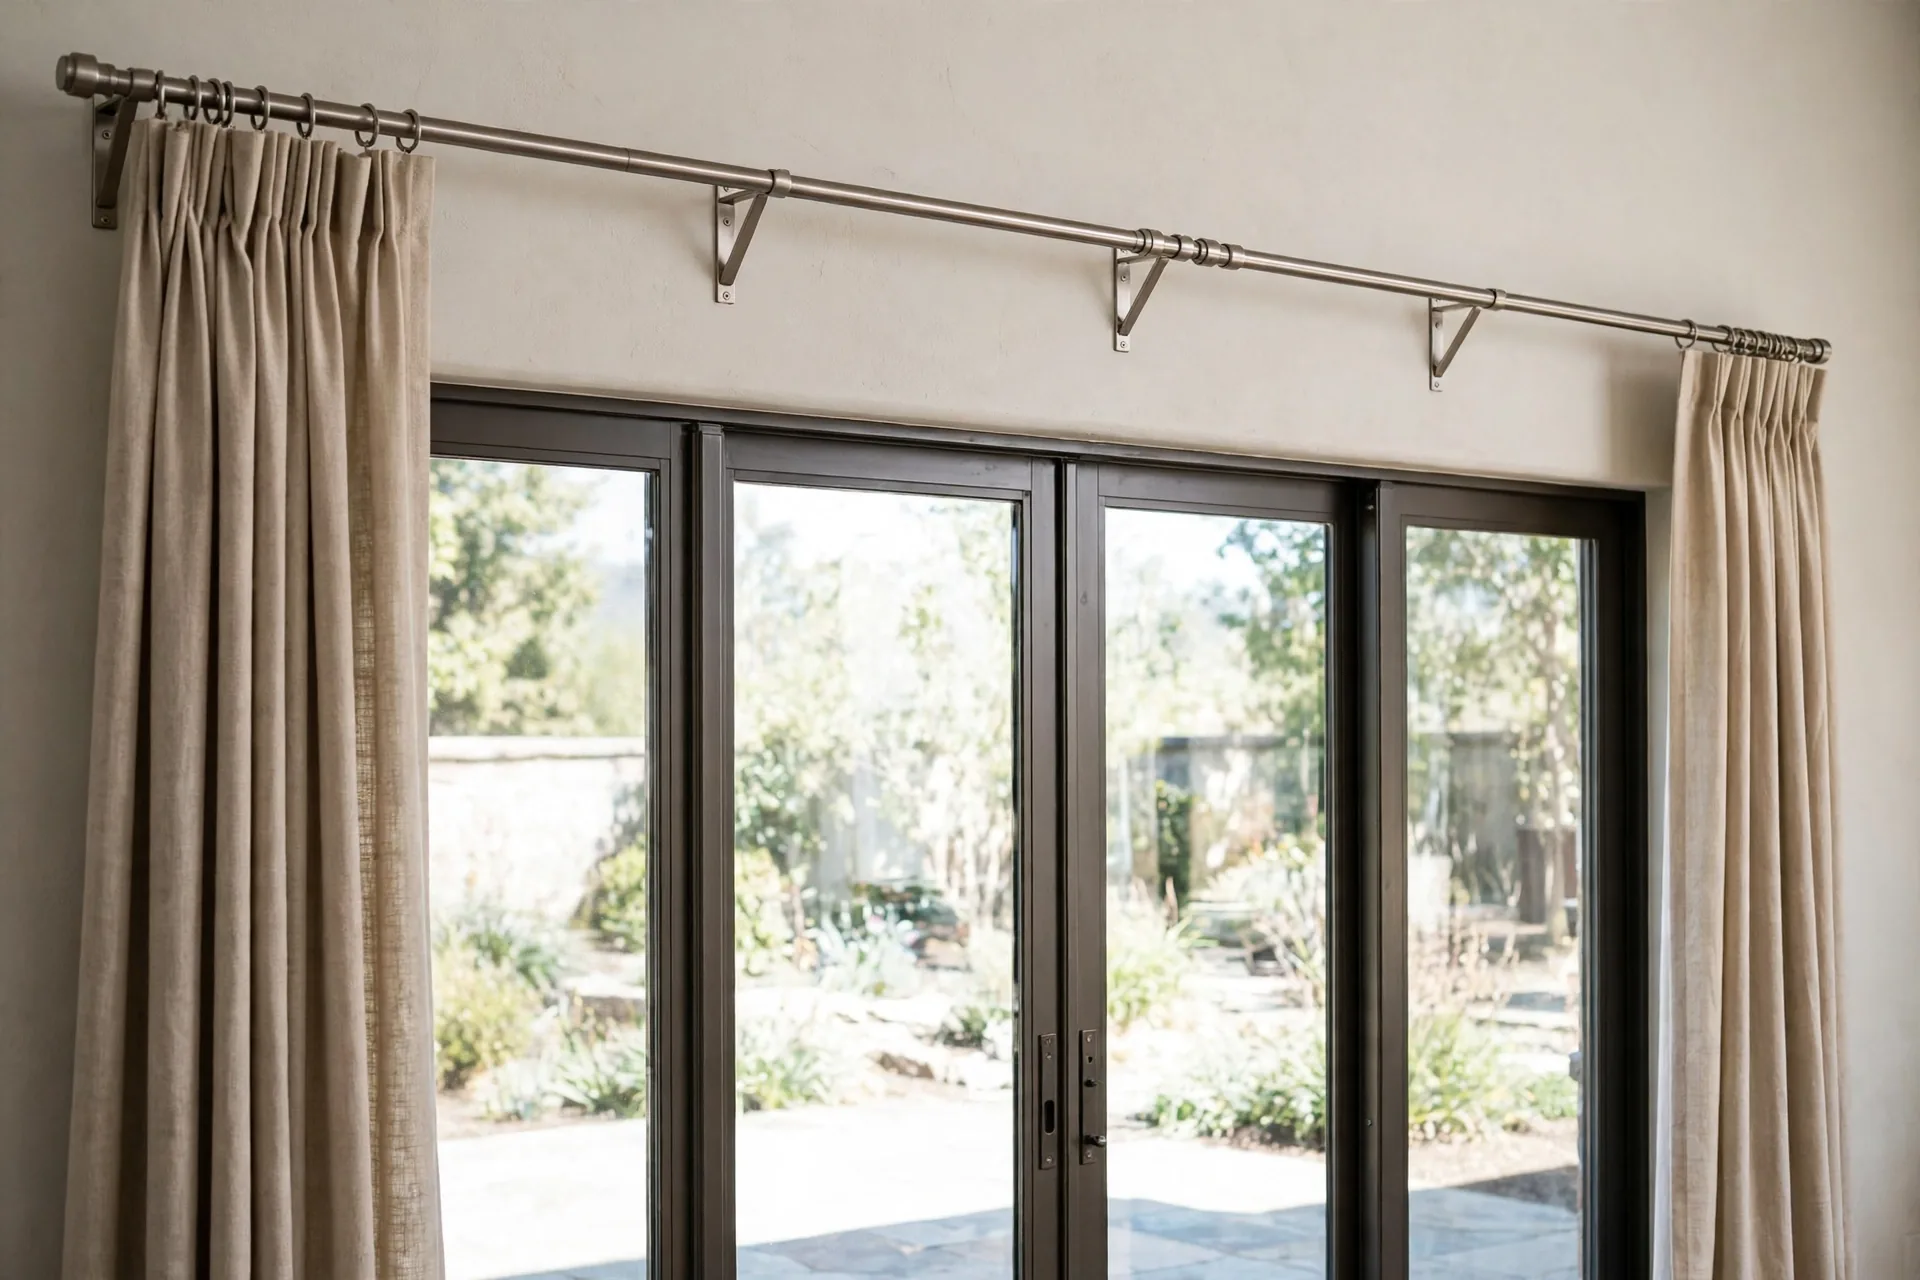
Long spliced metal rod with extra brackets for a wide door or wide window
- Best for: A patio door, a sliding glass door, or a wide window where one short rod cannot span the width.
- Key features: Metal bar joined from sections; extra brackets along the span.
- Pros: Spans a width no single short rod can cover; extra brackets share the load; metal suits modern rooms.
- Cons: Joints can catch rings if poorly made; panels stop at each bracket unless pass-over rings are used; check door handle clearance.
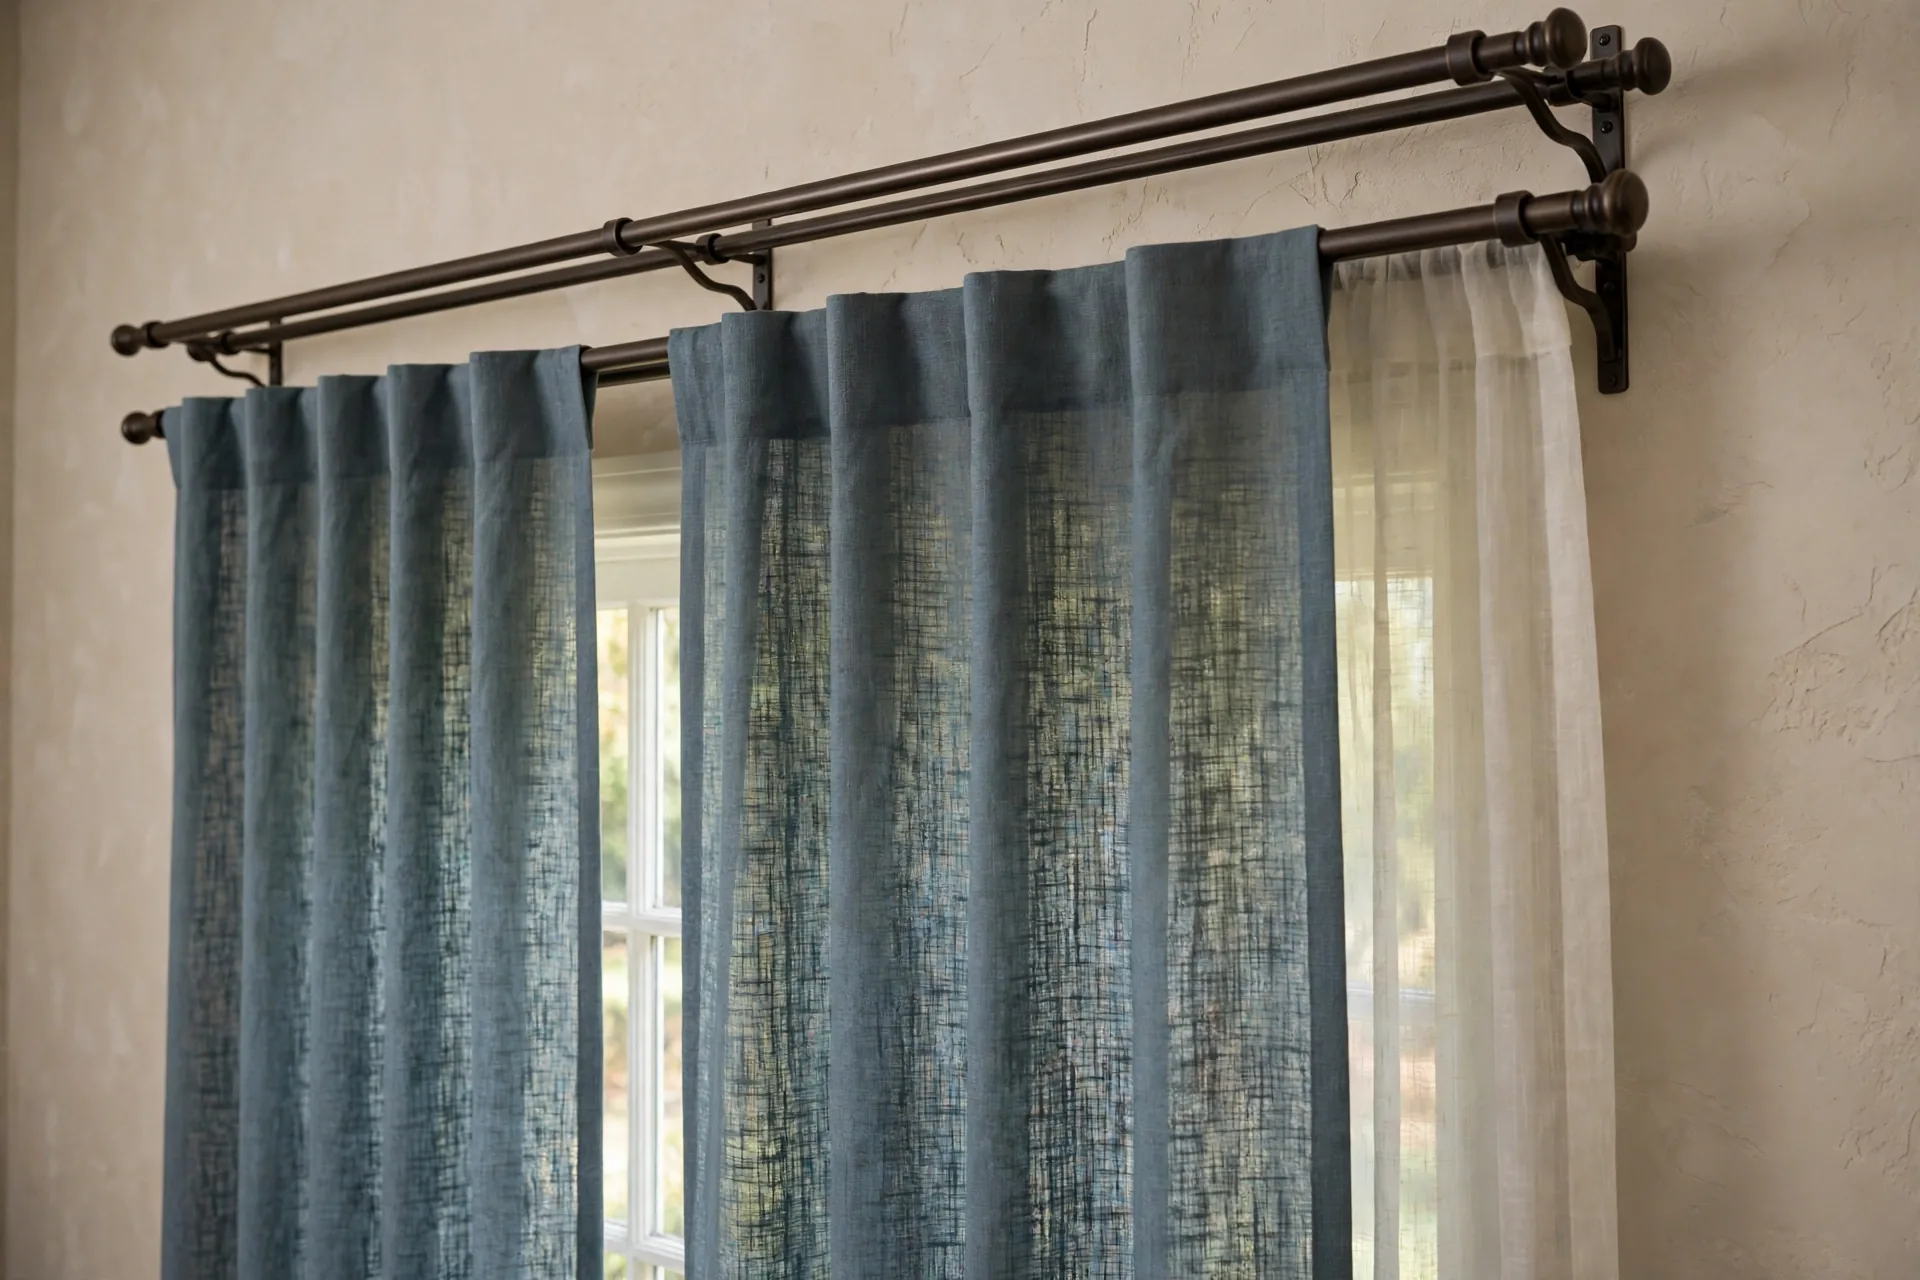
Double rod set for a sheer layer plus a heavier panel
- Best for: A room that needs daylight filtering by day and privacy or darkness at night.
- Key features: Two bars on one bracket set; sheer nearest the glass; heavier panel in front; front bar thicker than the back bar.
- Pros: Each layer can open and close on its own; day and night jobs are both covered.
- Cons: Needs more wall clearance than a single rod; the front panel must clear the back layer; two layers weigh more than one, so anchors matter more.
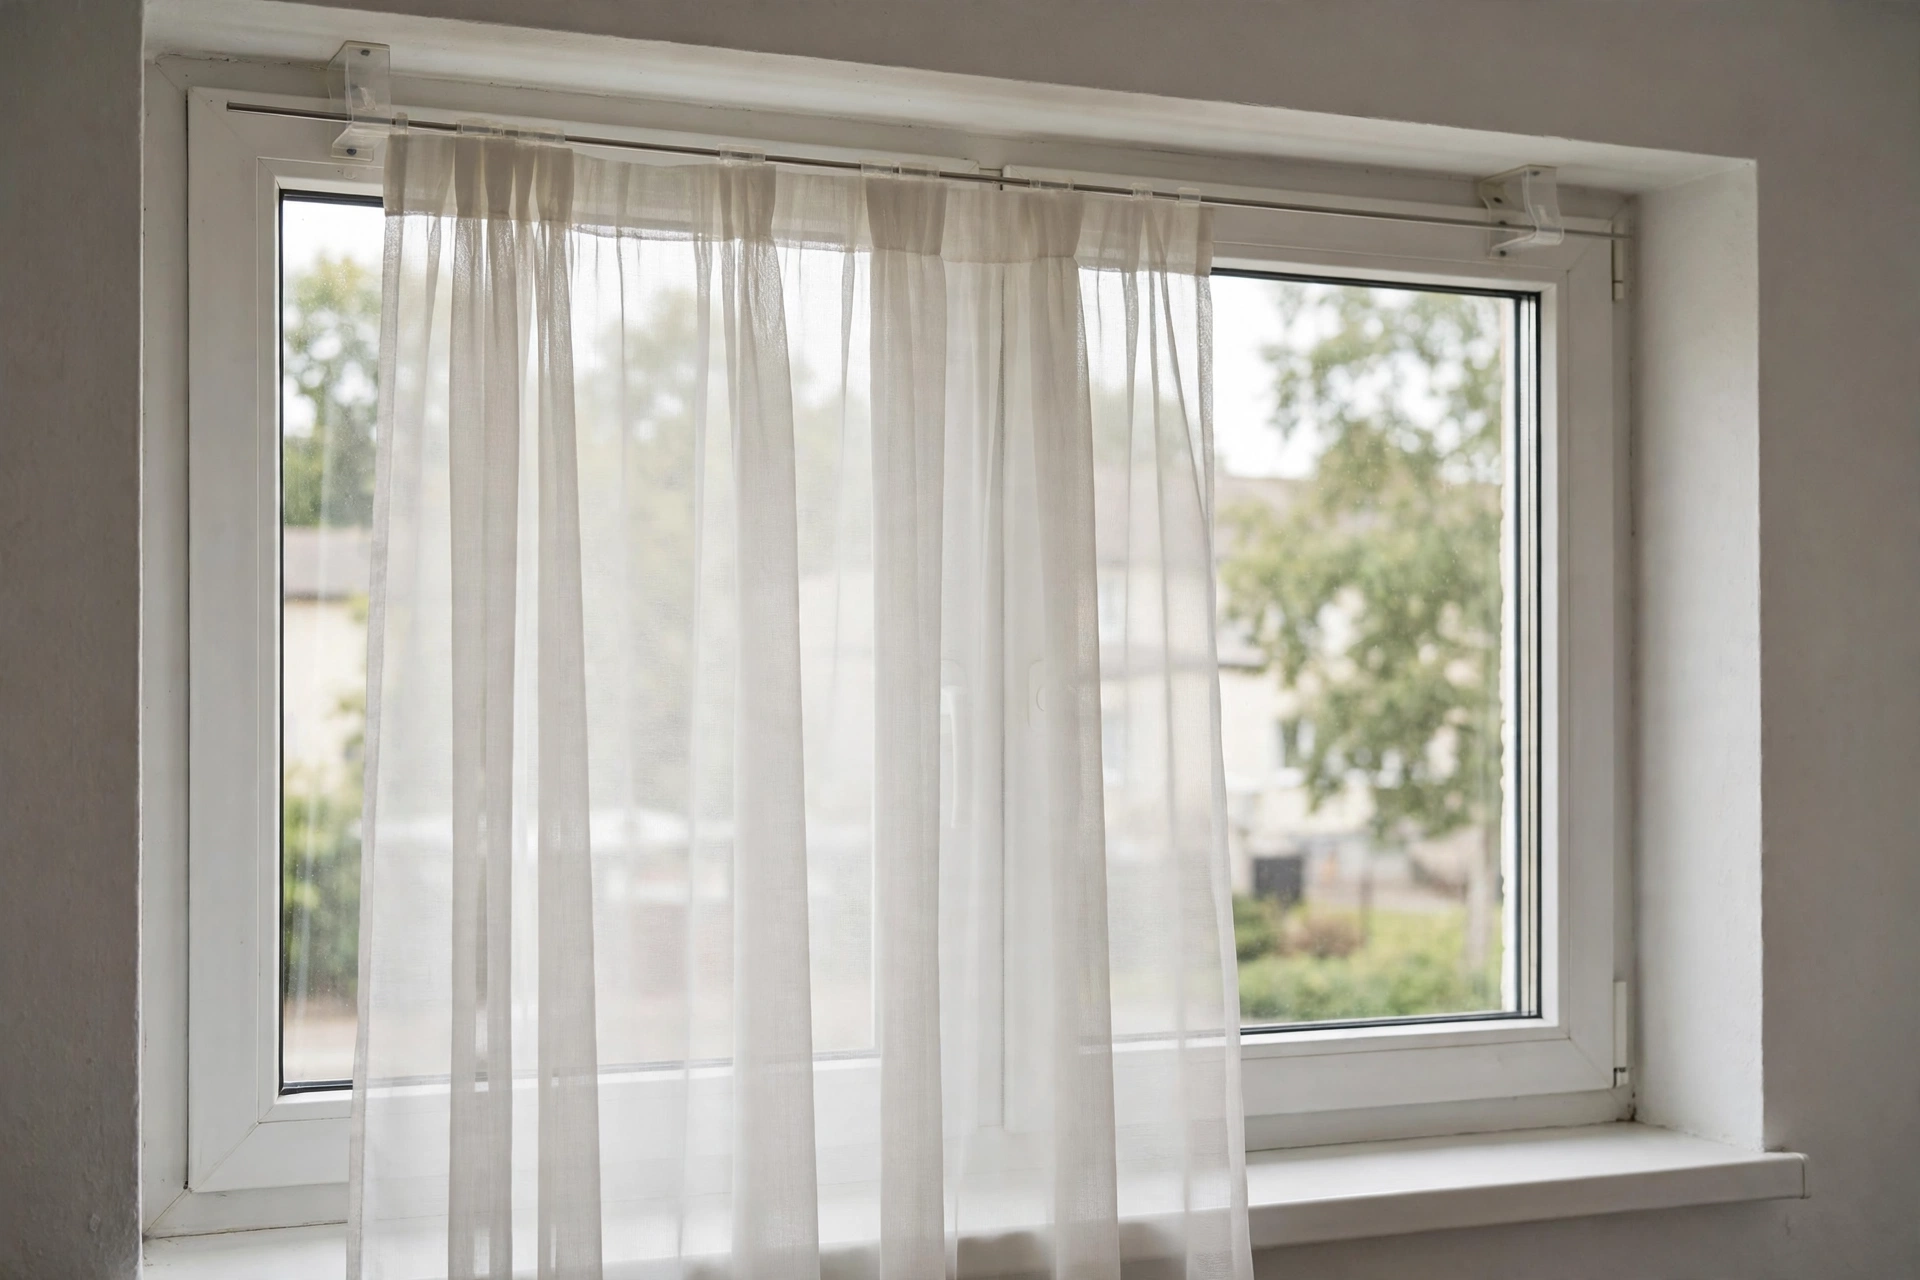
No-drill tension or adhesive-bracket rod for a renter
- Best for: A rented home where drilling is not allowed, with light panels only.
- Key features: Tension fit inside a frame, or adhesive brackets on a smooth surface; slim bar.
- Pros: No drilling; a tension fit leaves no holes, and a pin-secured adhesive mount leaves only tiny pin holes to fill at move-out.
- Cons: Not a heavy panel rod; adhesive can fail on textured, damp, or uneven surfaces; tension rods can slip on a wide span; check the listing for weight guidance and surface limits.
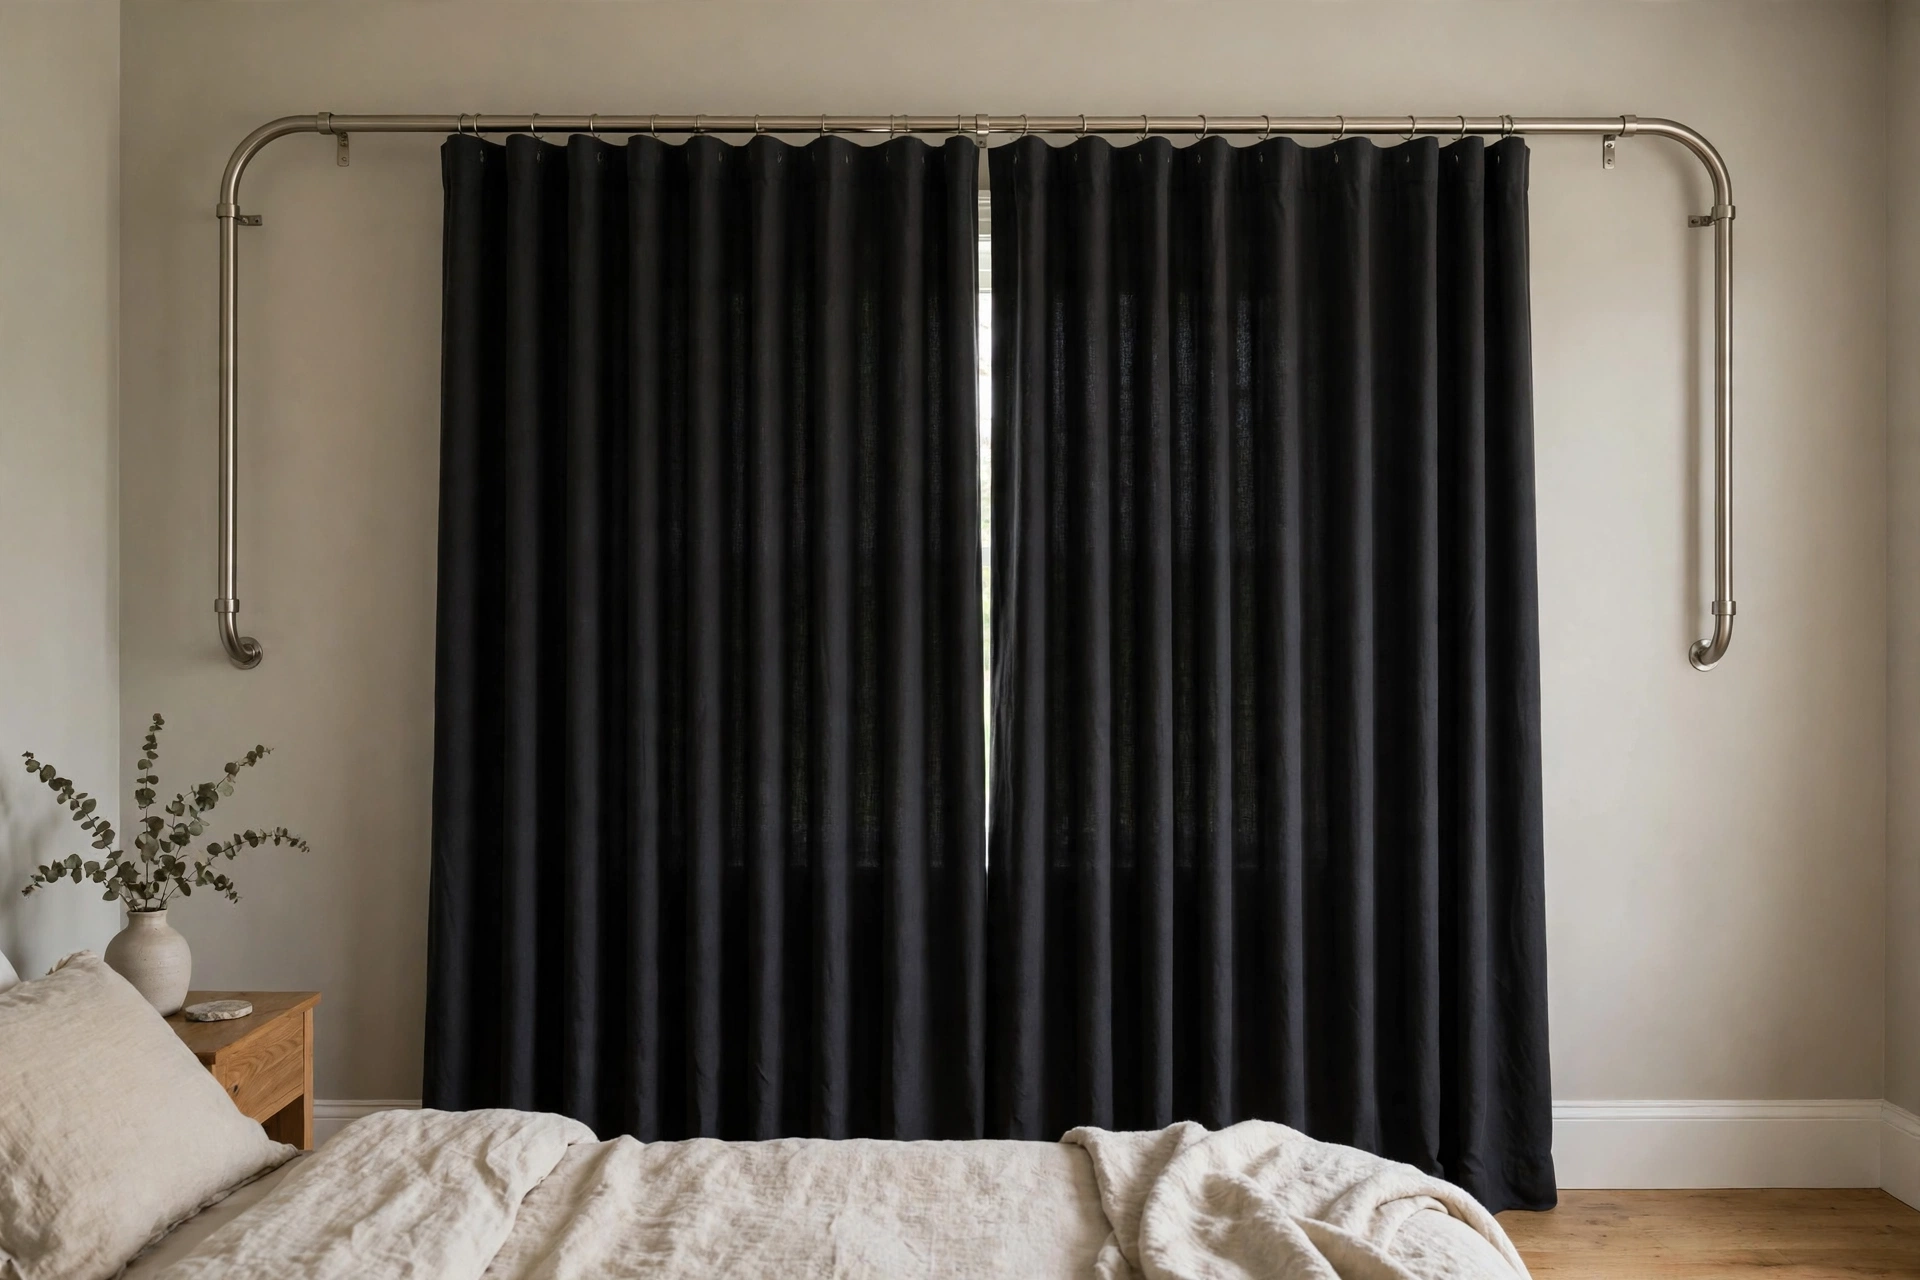
Wrap rod that curves back to the wall for blackout panels
- Best for: A bedroom or media room where a blackout panel must block side light as well as front light.
- Key features: Bar that returns to the wall at each end; no finials past the panel.
- Pros: Closes the side gap that lets light leak past a straight rod; neat, close-to-wall look.
- Cons: Panels cannot stack past the return, so stack space is tighter; no finial choice at the ends; a lined blackout panel still needs a thick bar and firm anchors.
Start with the job, not the finish
Start with what the rod must carry, how wide the span is, and whether you can drill. Those three facts narrow the choice fast, while finish alone narrows nothing.
Write down the panel type before you shop. Sheer and voile panels are light, unlined cotton and linen panels sit in the middle, and lined, velvet, and blackout panels are heavy. A lined panel is heavier than the same panel unlined, so lining changes the rod job, and a sheer plus a heavy panel on one rod is usually a double rod job instead.
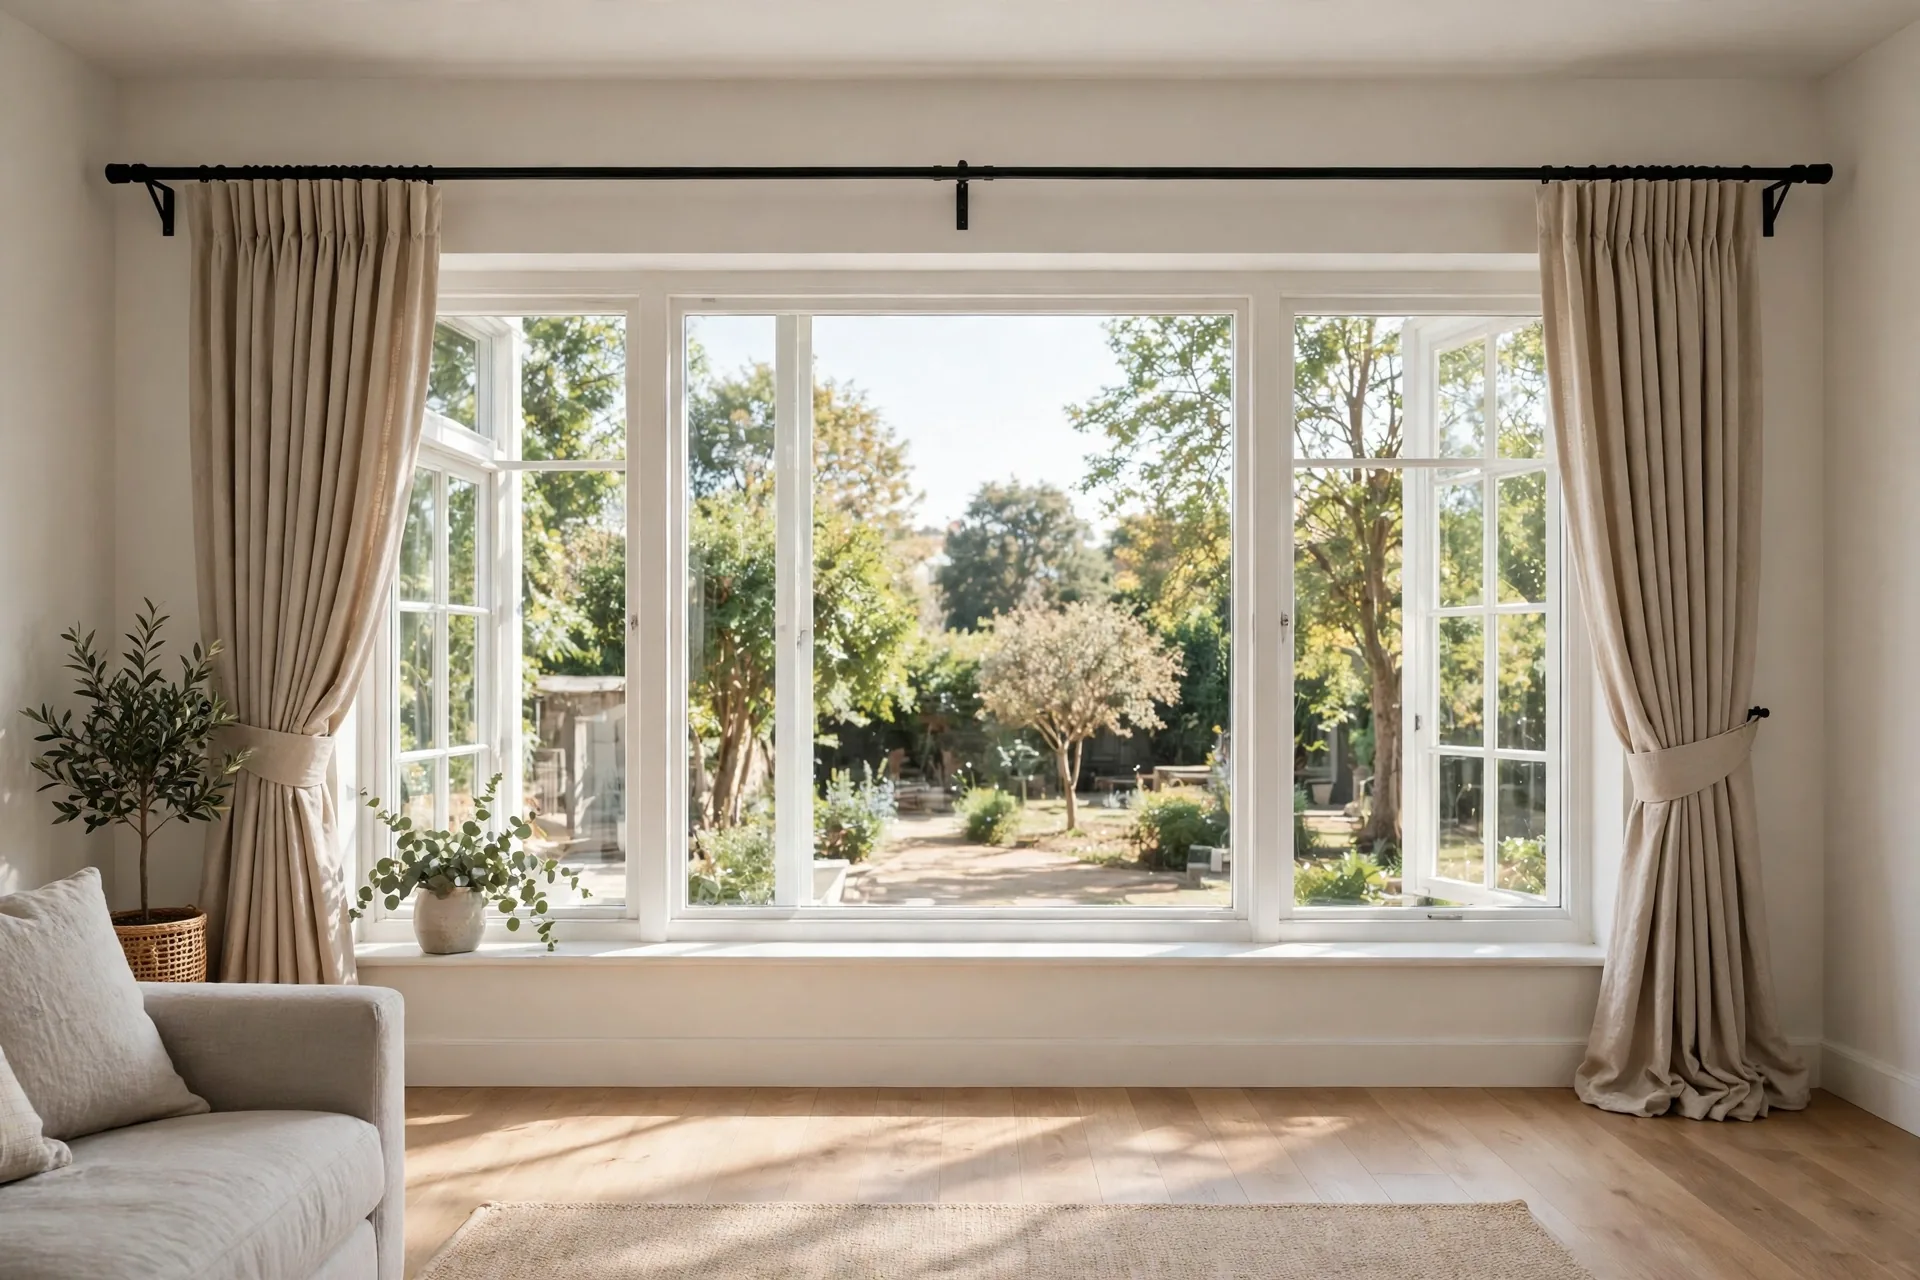
Then look at the window itself. A small window over a sink is a short span with little sag risk, while a wide living room window, a patio door, and a sliding glass door are long spans where support matters as much as diameter. A corner window, a bay window, and a window with a handle or deep casing need a rod shape that clears the obstacle, not just a longer straight rod. For the panels, see Best Sheer Curtains, Best Blackout Curtains, and Best Linen Curtains.
Rod types in plain words
A single rod carries one layer of panels on one bar, and it suits most rooms. A double rod carries two bars on one set of brackets: a sheer layer nearest the glass, and a heavier panel in front on the room side. That order matters, because the sheer filters daylight while the front panel gives privacy and darkness at night.
A wrap rod, also called a French return rod, curves back to the wall at each end instead of ending in a finial. With no gap at the ends, less light slips past the sides of a blackout panel. A tension rod holds itself inside the window frame by spring pressure, with no brackets and no holes. It suits light cafe curtains and sheers inside a frame, and it is a poor match for heavy panels or wide spans. A cafe rod is the short rod for that job, and it comes as an inside-mount set that fits within the frame or an outside-mount set that fixes to the wall or the frame face, so choose the mount that matches where the panel must sit. Some no-drill mounts are pin-secured: adhesive holds the bracket first, then micro-pins lock it in place, leaving only tiny fillable pin holes at move-out, with no power drill used. That is still a no-drill mount in the sense that no power drill is used, even though it leaves tiny holes to fill.
A traverse rod moves panels along a track with a cord or a wand, and it suits heavy panels and wide spans opened and closed every day, because the track shares the load. A ceiling track works the same way from above. A swing arm rod pivots out from the wall, which suits a door with glass or a small window that must open inward.
A telescoping rod slides in and out to fit within its stated range, so it fits fast with no sections to join, but it shows a visible step where the inner tube meets the outer tube at short settings, and that step can catch rings. A spliced rod joins sections to cover a long span, so it takes longer to assemble and its joints can catch rings if poorly made. A fixed-length rod has no joints to catch and no step to show, but it must match the span exactly, so a measuring mistake leaves no room to adjust.
A corner window needs a corner connector set that turns the rod around the corner, a standard bay window needs a bay rod made to follow the bay shape, and a non-standard angle or an extra-long span is a custom rod job, since no straight off-the-shelf rod follows those shapes. A motorized track suits a tall or hard-to-reach window, since it opens and closes the panels by remote instead of by hand. A ripple-fold track is the modern track alternative to pleated panels, with even carriers that hold the folds in regular waves.
A diameter and weight checklist to use before you order
Diameter is the thickness of the rod itself, and thicker rods hold heavier panels with less bend. As a broad guide, a slim rod around 5/8 inch suits light sheers and cafe panels on a short span, a rod around 3/4 inch suits standard unlined panels, and a rod around 1 inch suits lined, velvet, and blackout panels, with thicker rods for very heavy panels and long spans. These are planning ranges, not a promise for any one rod: wall material, bracket count, and span length change what a given rod can hold, so check the listing before you buy.
A pound rating on a listing is not a fixed property of the rod alone. It assumes a supported span and a bracket count, so the same rod will hold less when its brackets sit farther apart. Listings also state ratings differently, with some giving a total load, some a per-bracket load, and some no method at all, so ratings from different listings cannot be compared directly. A listing that states nothing about weight is a reason to size up to a thicker rod and add a bracket, rather than assuming the rod will hold the panel.
Run this checklist before you order. First, name the panel weight: light, standard, or heavy, with lining counted as weight. Second, count the layers: one, or two on a double rod. Third, note the span: a short span is forgiving, a wide span needs a thicker rod and more brackets. Fourth, check the listing for diameter, bracket count, and weight guidance, and treat a listing that states nothing about weight as a reason to size up or ask.
Fifth, check the wall the brackets will fix to. A bracket screwed into a stud holds more than the same bracket in bare drywall, and plaster, brick, and concrete each need their own anchor. If you cannot find a stud where a bracket must sit, plan for the right anchor for your wall type. A heavy panel on a weak anchor will sag or pull loose even on a thick rod, so rod, brackets, and wall must be chosen as one set.
Bracket spacing and center support that keep a rod straight
Brackets decide whether a rod stays straight, and a center support is the part most buyers skip. End brackets alone hold a short rod well, but a long rod with only two end brackets will bow in the middle under a heavy panel. A center support bracket under the middle of the span stops that bow, and it is part of the kit for most wide rods.
Place the end brackets so the rod extends about 6 to 12 inches past the frame on each side, as a planning range, giving the panels room to stack off the glass when open.
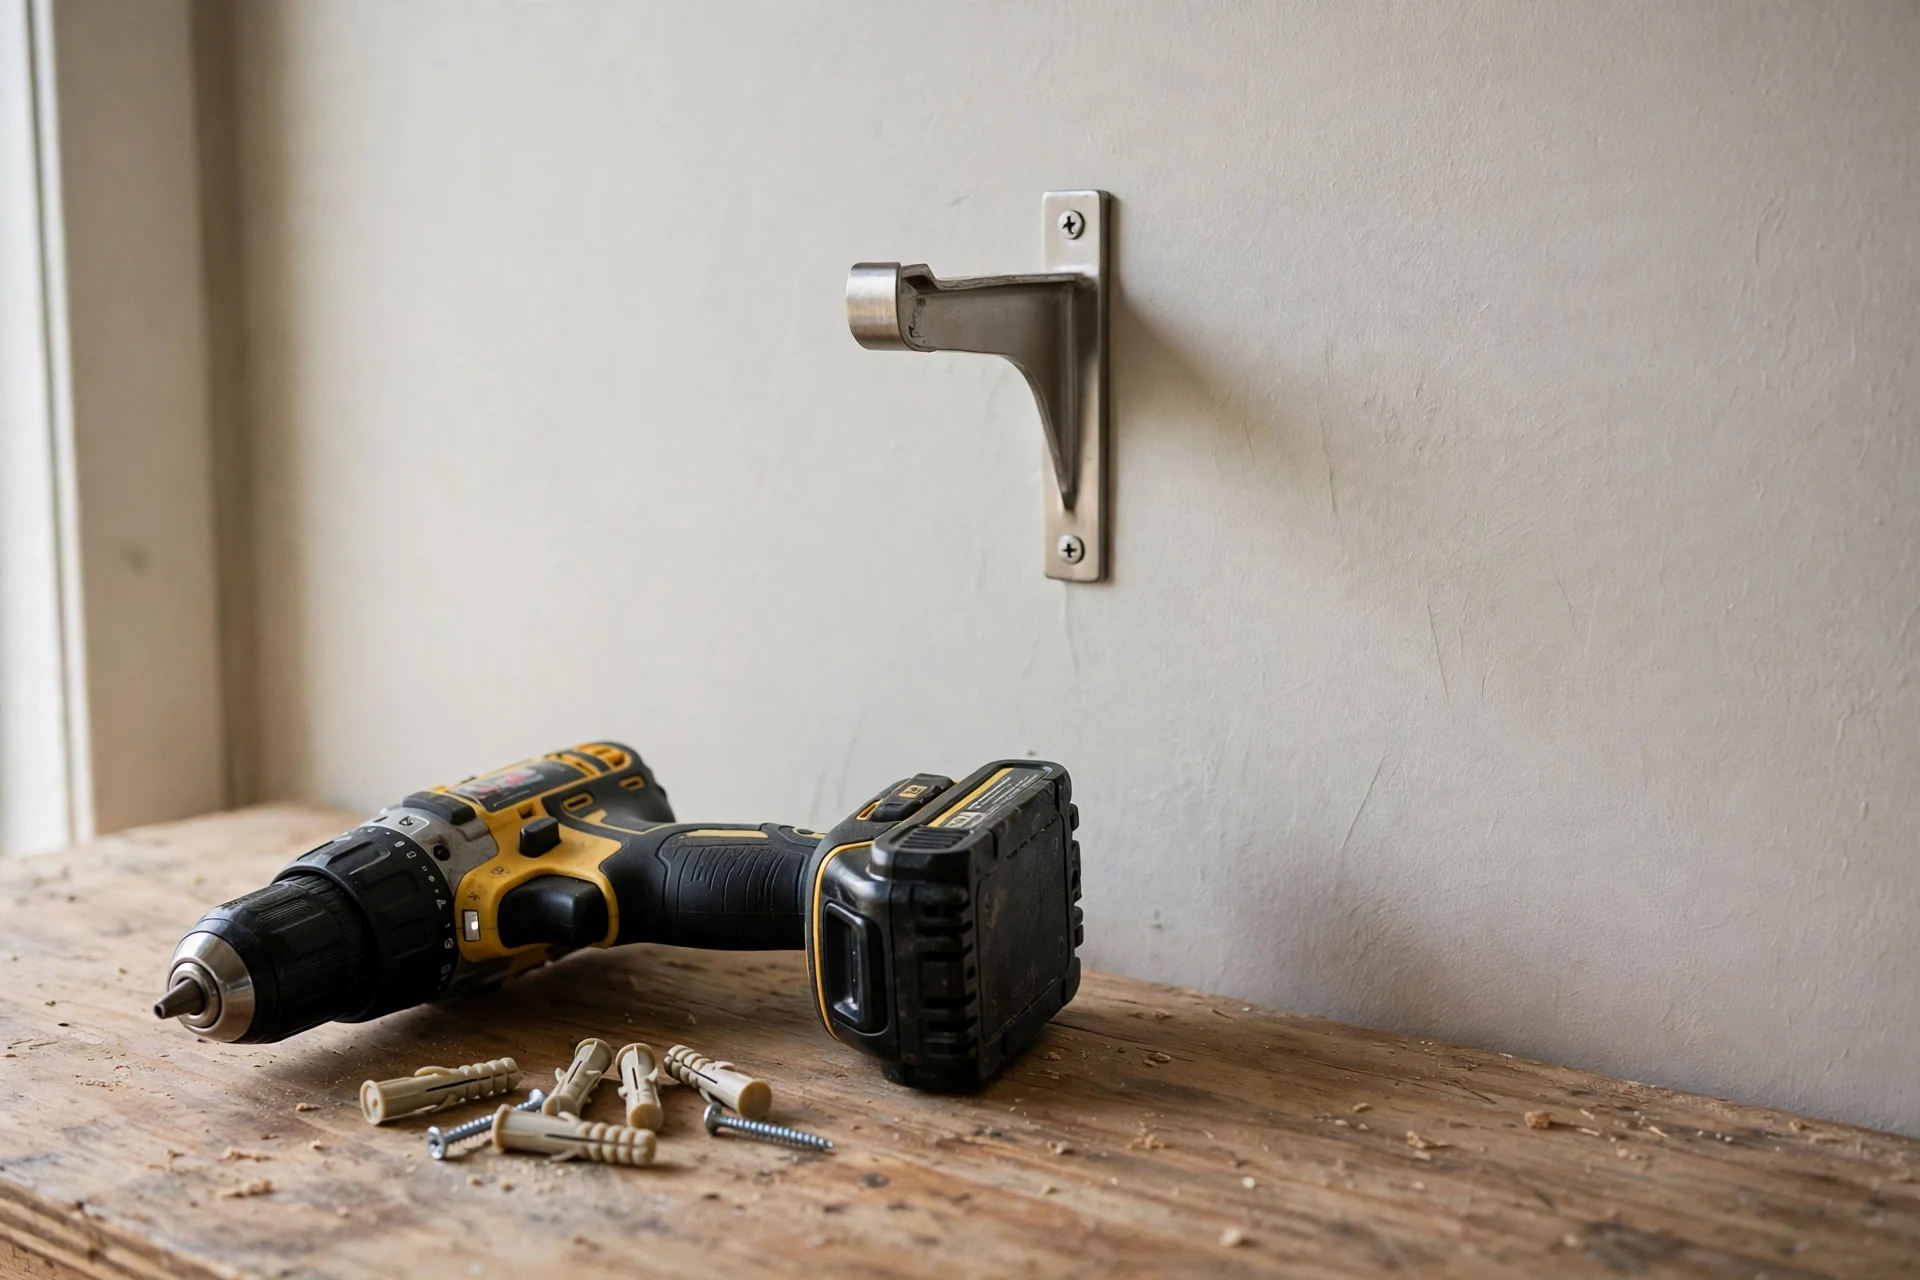
Mount the brackets above the frame, following the fitting steps in How to Hang Curtains, rather than level with the top of the frame. Place a center support at the middle of a wide span, and add further supports on a very wide span so no unsupported run is long. The exact spacing comes from the kit and the listing, because material and diameter change it, but the rule stays the same: shorter unsupported runs sag less. A sliding door is the widest version of this job, and Best Curtains for Sliding Glass Doors covers its stack and handle clearance in more depth.
How many brackets, and how far apart
| Span | Brackets to plan for | Planning note |
|---|---|---|
| Up to about 36 inches | Two end brackets | A center support is still worth adding for a heavy lined panel |
| About 37 to 72 inches | Two end brackets plus one center support | A center support becomes necessary as span and panel weight rise |
| About 73 to 108 inches | Two end brackets plus two center supports | Two center supports keep every run at or under about 36 inches |
| Over about 108 inches | End brackets plus further supports | Add supports so no unsupported run is longer than about 36 inches for that rod diameter and panel weight; thinner rods need closer supports |
These are planning ranges, not a promise for any one rod. Check the kit and the listing, because diameter, material, and panel weight change the spacing.
Watch one trap with center supports: rings and grommets cannot pass over a standard center bracket, so panels stop at the middle instead of sliding right across. If you want panels to travel the full width, choose C-loop rings, also called pass-over rings, which are made to pass over a center bracket, or a traverse rod or track. Quiet-glide rings, lined with nylon or felt, run more quietly than bare metal rings where ring noise is a problem. For a door rod, the brackets must also hold the rod clear of the door handle and swing. See Best Curtains for Bedroom, Best Curtains for Living Room, and Best Thermal Insulated Curtains.
Match the rod to the curtain heading
The heading is the top of the panel, and it decides which rod fits and how well the panel slides. A rod pocket panel threads straight onto the rod, so the pocket must slide over the rod diameter with room to spare, and a tight pocket on a thick rod will stick. A grommet panel hangs from metal rings set into the fabric, so the grommet opening must clear the rod diameter, and a grommet that barely fits will drag.
A pinch pleat panel hangs from hooks or rings, so the rod must take rings of the right inner size. A back tab panel hangs from loops sewn on the back, which hide the rod and give a clean fall, but the loops slide less freely than grommet rings, so back tabs suit panels that mostly stay in place. A tab top panel shows loops over the rod and behaves the same way. A clip ring panel hangs from rings with clips, which suits panels with no heading pocket.
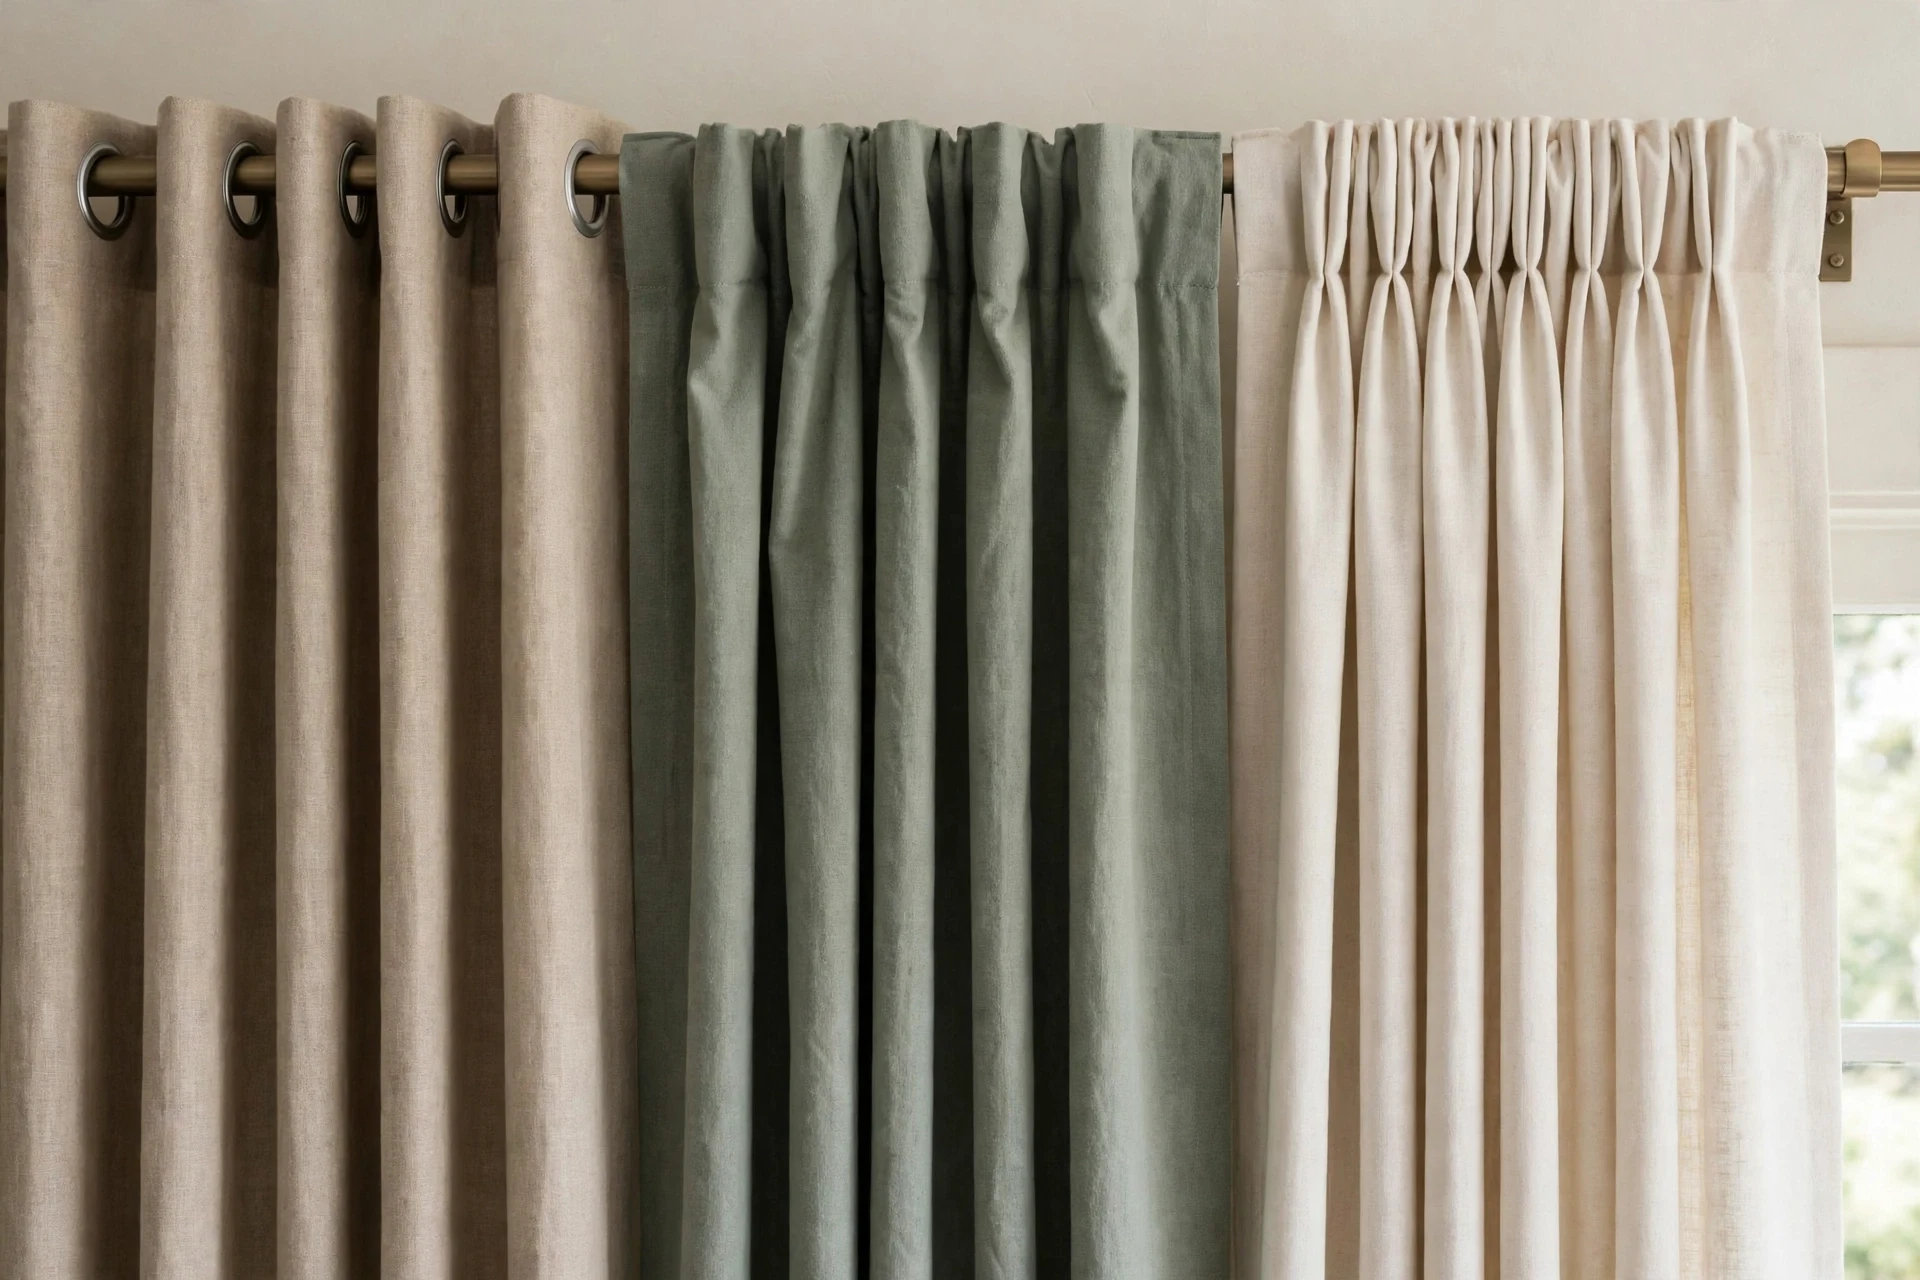
Check three fits before you order. First, the heading fit: pocket width, grommet opening, or ring inner size against the rod diameter. Second, the slide fit: a panel opened and closed daily needs rings or grommets that glide. Third, the stack fit: thick headings and full panels stack wider when open, so the rod must extend far enough past the frame for that stack, or open panels will cover part of the glass. As a rule, the ring inner size must clear the rod diameter with slide room to spare, so a ring that only just fits will drag. When a heading and a rod do not fit, change the rod diameter or the heading hardware, not the panel.
Finishes, finials, and projection without overthinking them
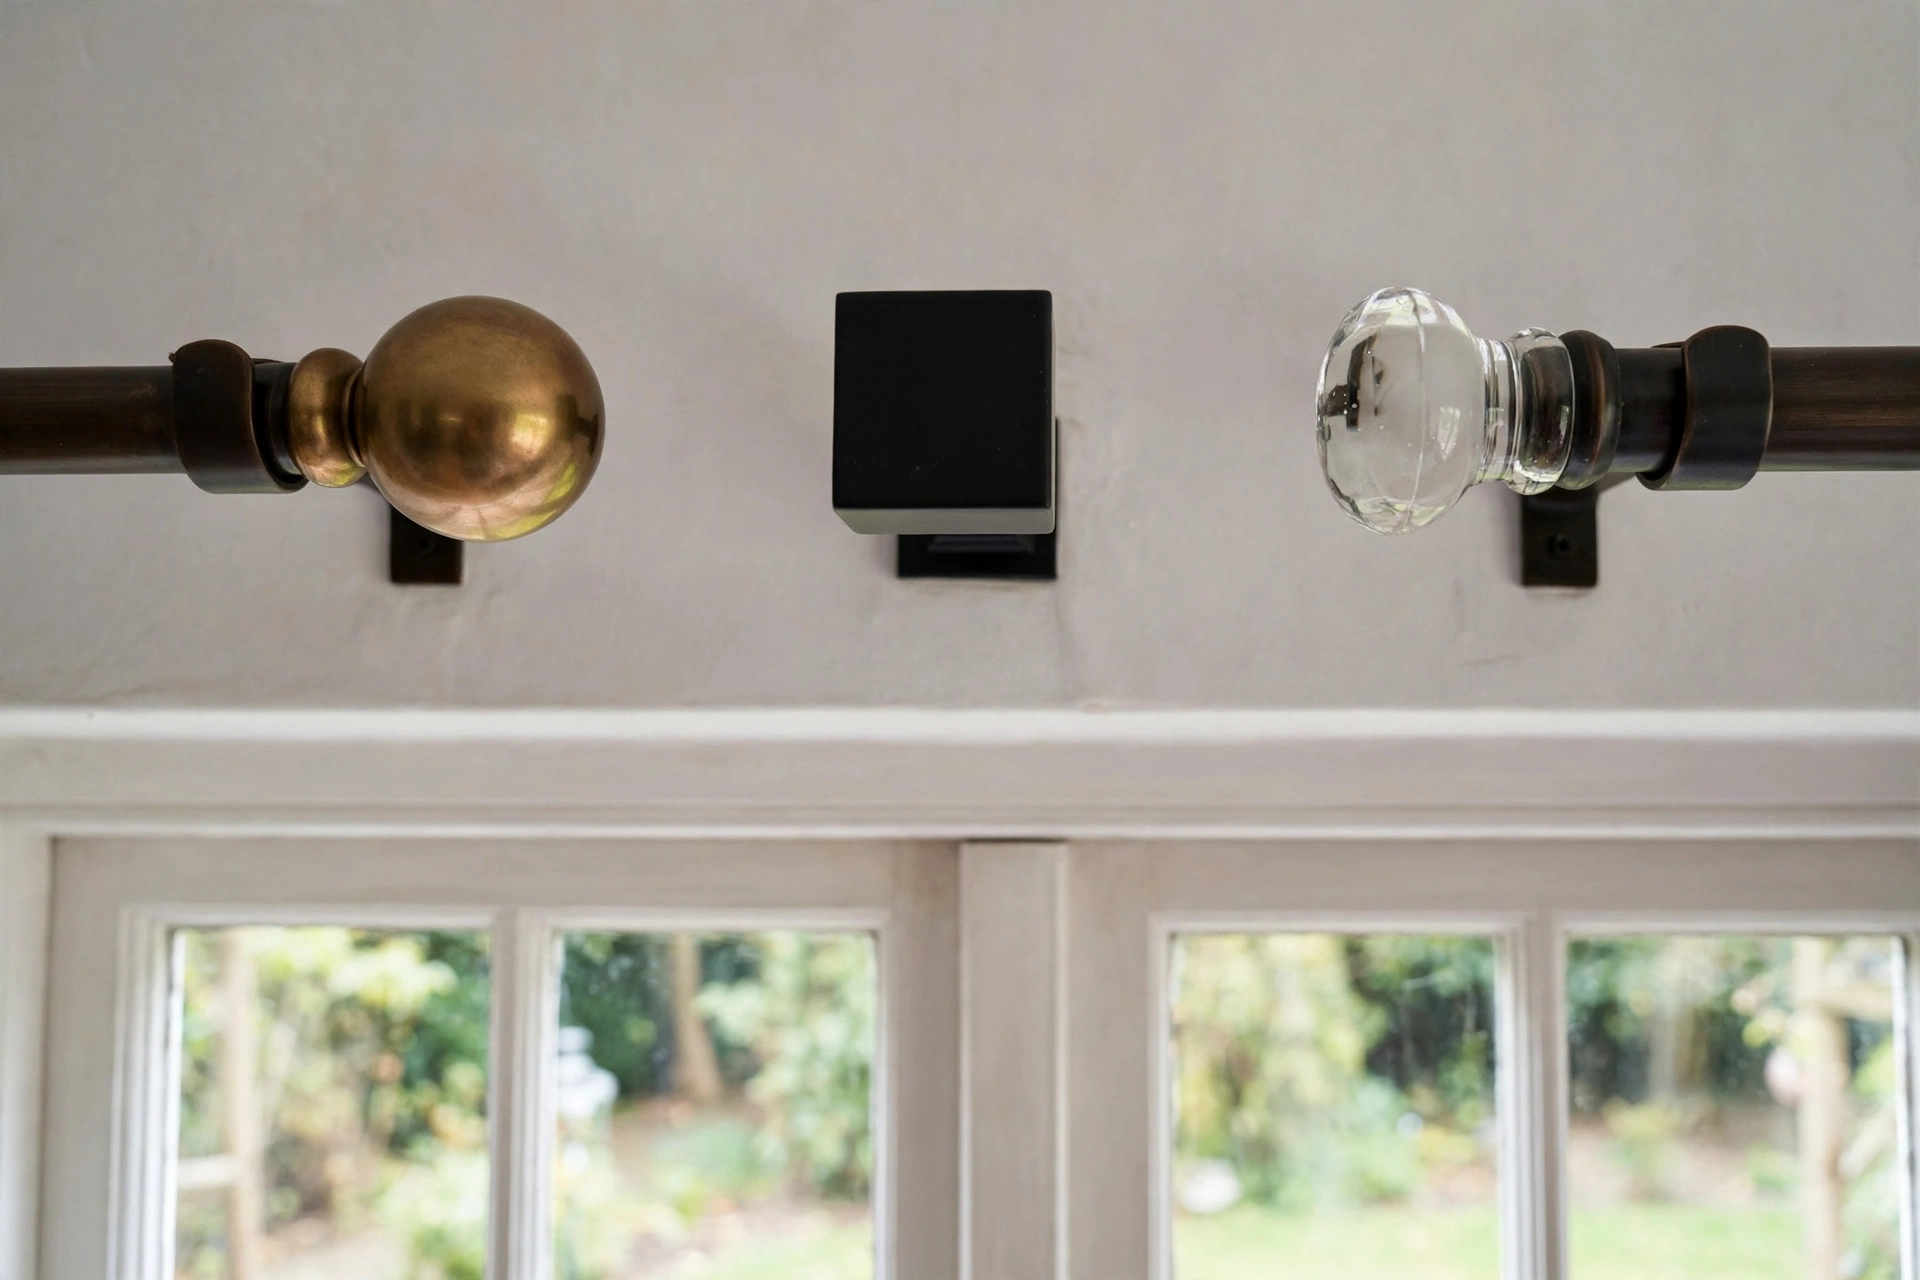
Finish is the surface of the rod, and it should match the room hardware you already have. Matte black suits modern rooms and dark frames, brushed nickel and chrome suit cool rooms, brass and bronze suit warm rooms, and wood suits traditional rooms. Mixing metals across one window looks untidy, so match rings, brackets, and finials to the rod finish, and buy rings from the same range where you can.
Steel and stainless rods are strong for their weight, need little upkeep, and resist rust, so they suit heavy panels and damp rooms. Wood rods suit warm, traditional rooms, but the finish wears and the color changes over time. Iron rods are heavy and strong, so they suit heavy panels, but they need firm anchors and the finish needs care where it chips. Aluminum rods are light and cheaper, but they suit light panels better than heavy ones. Plastic and acrylic rods are the lightest and cheapest, and they suit light sheers, but they wear and need replacing sooner than metal or wood. Even so, diameter, bracket count, and wall anchors still matter most, because a strong material on too few brackets will still sag.
Finials are mostly a style choice with two practical limits. A large finial needs wall space past the bracket, so it fails in a tight corner, where an end cap or wrap rod fits better. A finial adds to the total rod length, so check the total length with finials before you order, not just the bar length.
Projection is how far the rod sits from the wall, and it decides whether panels clear the window frame, the casing, and a door handle. A shallow projection suits a flat wall and a light panel, while a deep projection suits a thick frame, a handle, or two layers on a double rod. If the panel brushes the frame or handle, the projection is too shallow, and the fix is a deeper bracket. See Best Window Curtains and Best Curtains for Living Room.
Sag, stuck panels, and wobbly brackets: what to avoid
Sag is a common rod failure, and it usually comes from one of three causes: a rod too thin for the panel, too few brackets for the span, or an anchor that cannot hold the load in that wall. A rod that dips in the middle needs a thicker bar, a center support, or both, and a rod that pulls away from the wall needs a better anchor.
Stuck panels come from a heading that does not fit the rod, a joint that catches rings, or a center bracket that blocks travel. Test the slide with one panel before hanging the full set. Wobbly brackets come from anchors in weak wall material, screws that are too short, or brackets that are not level. Brackets at different heights tilt the rod, and a tilted rod sends panels sliding to one end on their own.
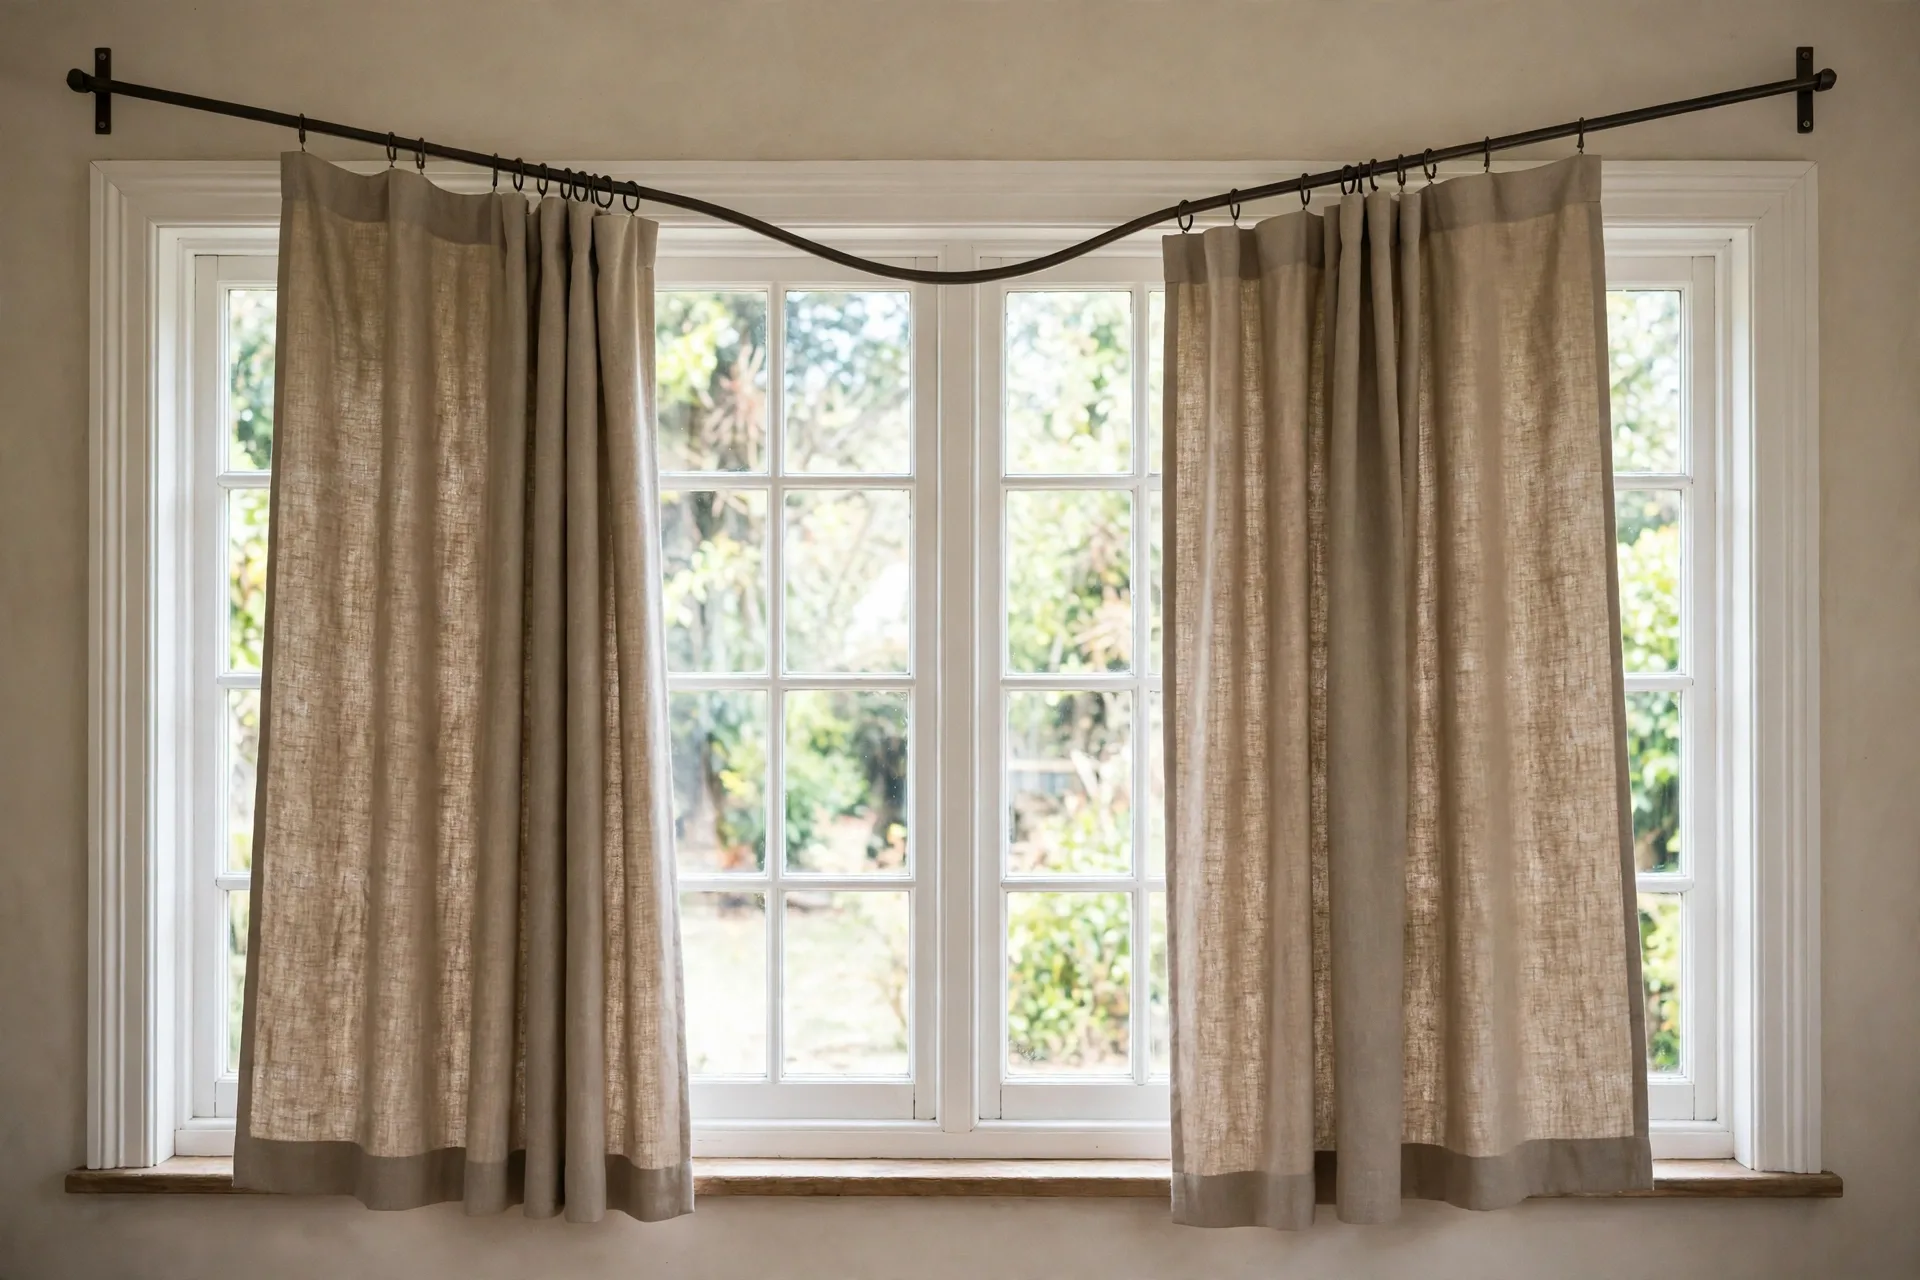
Two more traps are worth a check. A rod that is too short leaves panels bunched over the glass when open, so the window looks smaller than it is. A no-drill rod used for a heavy lined panel will fail in time even if it holds on day one, so keep no-drill rods for light panels and use screwed brackets for heavy ones. For length and width help, see Curtain Sizes and How to Measure for Curtains.
Final checks before you order a rod
Final checks catch the mistakes that a good rod choice cannot undo. Confirm the panel weight with lining counted, the layer count, and the span, then the rod diameter, bracket count, and weight guidance on the listing. Confirm the heading fit and the slide path past every bracket and joint.
Confirm the wall plan: stud or anchor for each bracket, projection clear of handles and casing, and total length with finials clear of corners. Confirm the stack plan: rod extension of about 6 to 12 inches past the frame on each side, so open panels sit off the glass. Confirm the room job one last time: a blackout room needs a wrap rod or track that closes the side gap, a rented wall needs a light no-drill rod, and a wide door needs extra brackets and handle clearance. If any check is unconfirmed, hold the order and check the listing. For the next steps, see How to Measure for Curtains and How to Hang Curtains, and see Best Curtains for Bedroom and Bedroom Guides.
Frequently asked questions about curtain rods
The questions people ask most about curtain rods cover diameter, brackets, length, and which rod suits each panel and window.
What diameter curtain rod do I need for heavy curtains?
A rod around 1 inch or thicker is the planning guide for lined, velvet, and blackout panels, while a rod around 3/4 inch suits standard unlined panels and a slim rod around 5/8 inch suits light sheers. Diameter alone does not settle it, so check the listing for weight guidance and count the brackets.
How far apart should curtain rod brackets be?
Plan for brackets so no unsupported run is longer than about 36 inches: two end brackets up to about 36 inches, two end brackets plus one center support from about 37 to 72 inches, and two center supports from about 73 to 108 inches, with further supports beyond that so no run exceeds about 36 inches. Check the kit and listing, because material, diameter, and panel weight change the spacing.
Do I need a center support bracket?
A center support is needed on a wide span and on any span carrying a heavy panel, because end brackets alone let a long rod bow in the middle. A short span with a light panel can do without one.
Can a no-drill curtain rod hold blackout curtains?
A no-drill rod is a light panel rod, so it is a poor match for most blackout curtains, which are heavy once lined. A light unlined blackout-look panel on a short span may hold, but a lined blackout panel needs screwed brackets into a stud or a proper anchor.
What curtain rod works with grommet curtains?
A grommet panel needs a rod whose diameter clears the grommet opening with room to slide. A smooth metal rod around 3/4 inch to 1 inch suits most grommet panels, with the thicker end for lined panels.
Will a wrap rod really block more light?
A wrap rod blocks more side light than a straight rod, because its ends curve back to the wall and close the gap where light leaks past a blackout panel. It does not fix light leaking at the top or through the center gap, so pair it with a panel wide enough to close fully.
Can I use one rod for sheers and heavy curtains?
One rod can carry both layers only when the combined weight stays within what that rod and its anchors can hold, and even then the layers cannot move on their own. A double rod is the better answer for most rooms: sheer nearest the glass, heavy panel in front, each layer sliding on its own bar.
What if my window is wider than one rod length?
A spliced metal rod with extra brackets covers a width no single short rod can span, and a track or traverse rod covers a very wide span with smoother travel. Add brackets so no unsupported run is long, and confirm door handle clearance on a door span.
How do I stop curtain rings sticking at a center bracket?
Rings stick at a center bracket because a standard ring cannot pass over it, so the fix is C-loop rings, made to pass over a center bracket, or a track where carriers glide past the supports. Check the ring type before ordering, and test one panel across the full span before hanging the rest.
How far should a curtain rod extend past the window?
Extend the rod about 6 to 12 inches past the frame on each side, as a planning range, so open panels stack off the glass and closed panels cover the edges. A fuller panel or a wider stack needs the longer end of that range.
How high should I mount a curtain rod?
Mount the rod 4 to 6 inches above the window frame (higher for tall ceilings, see the rod-height rules guide). Mount it above the frame, not level with its top, so the panels hang clear and the window looks taller when the panels are open. Follow the fitting steps in the hanging guide for the wall anchors, since the height alone does not hold the rod.
What rod works for a corner or bay window?
Use a corner connector set for a corner window, a bay rod made for a standard bay window, and a custom rod for a non-standard angle or an extra-long span. A straight rod alone will not turn a corner or follow a bay shape.
Telescoping or spliced, which should I choose?
Choose a telescoping rod for fast fitting and a fit within its stated range, and a spliced rod for a long span that needs extra brackets. Telescoping rods show a visible step where sections meet at short settings, while spliced rods take longer to assemble and their joints can catch rings.
This guide is research-based curation: we compared maker specifications, published reviews, and current prices. Read how we choose.